
Folder Lock, developed by NewSoftwares.net, is more than just a file encryption tool; it's a comprehensive privacy solution designed to help you maintain control over your digital footprint. A key aspect of digital privacy is managing your Windows history, which can reveal sensitive information about your computer usage. Folder Lock simplifies this process, allowing you to efficiently clear your browse and activity data for enhanced confidentiality.
Steps To Clean Your Windows History Using Folder Lock
Follow these steps to clean your Windows history using Folder Lock:
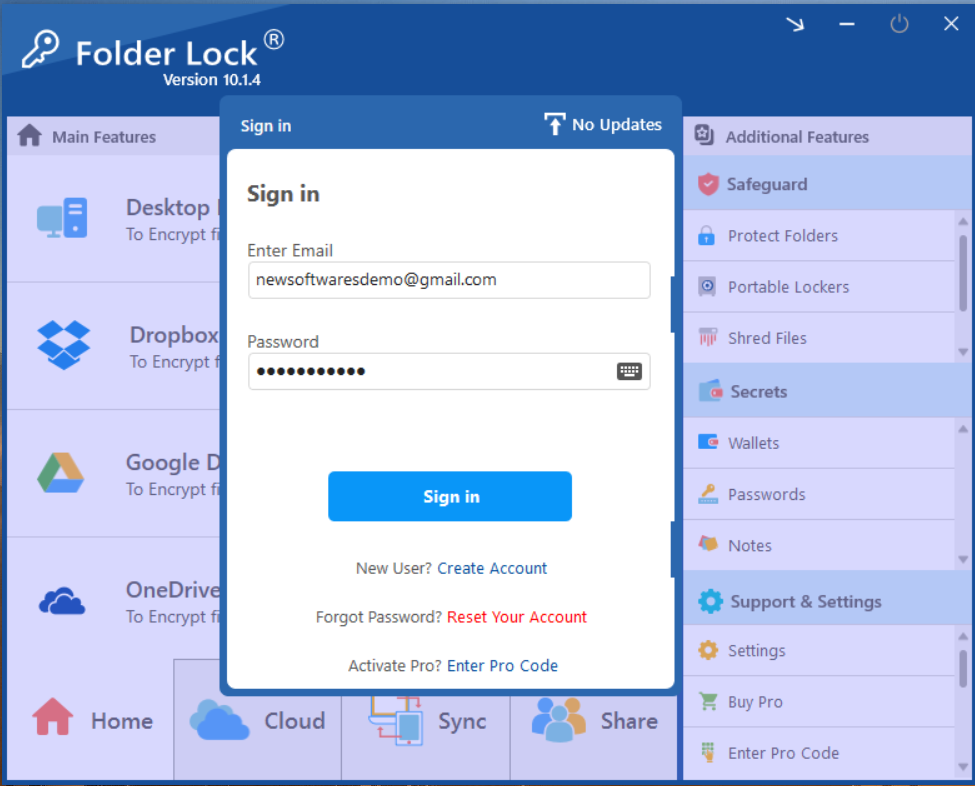
Step 1: Open Folder Lock and Log In
Launch the Folder Lock application on your computer and log in to your account with your credentials.
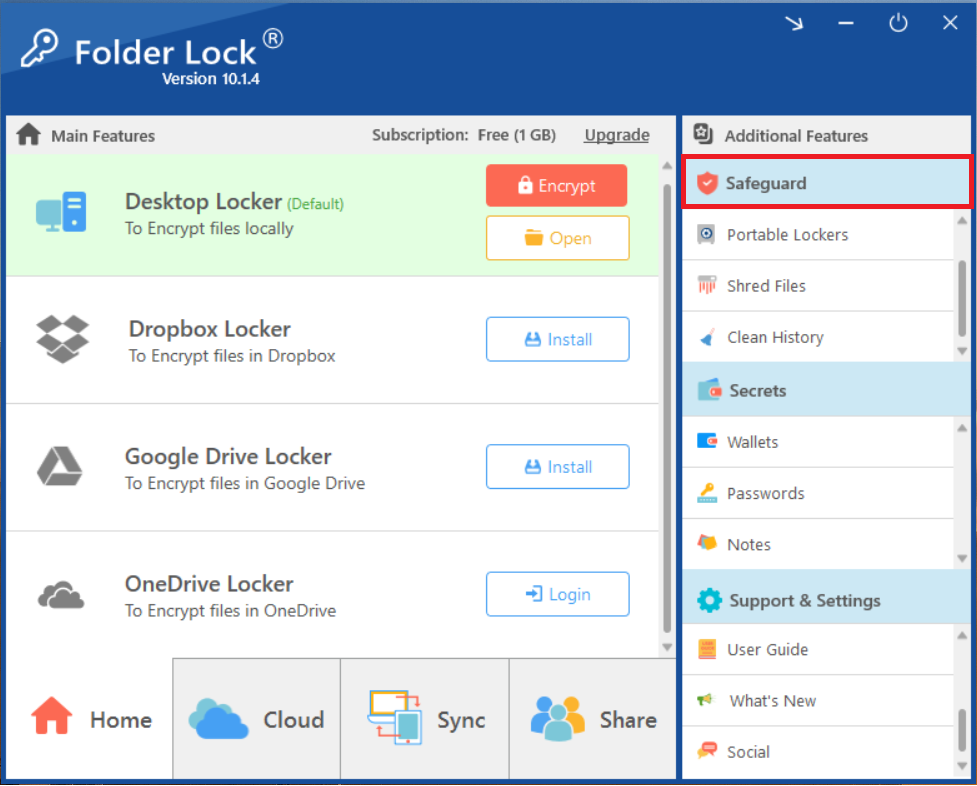
Step 2: Go to the "Safeguard" Tab
Once logged in, navigate to the "Safeguard" tab. This icon is typically positioned in the Top right corner of the Folder Lock main window.
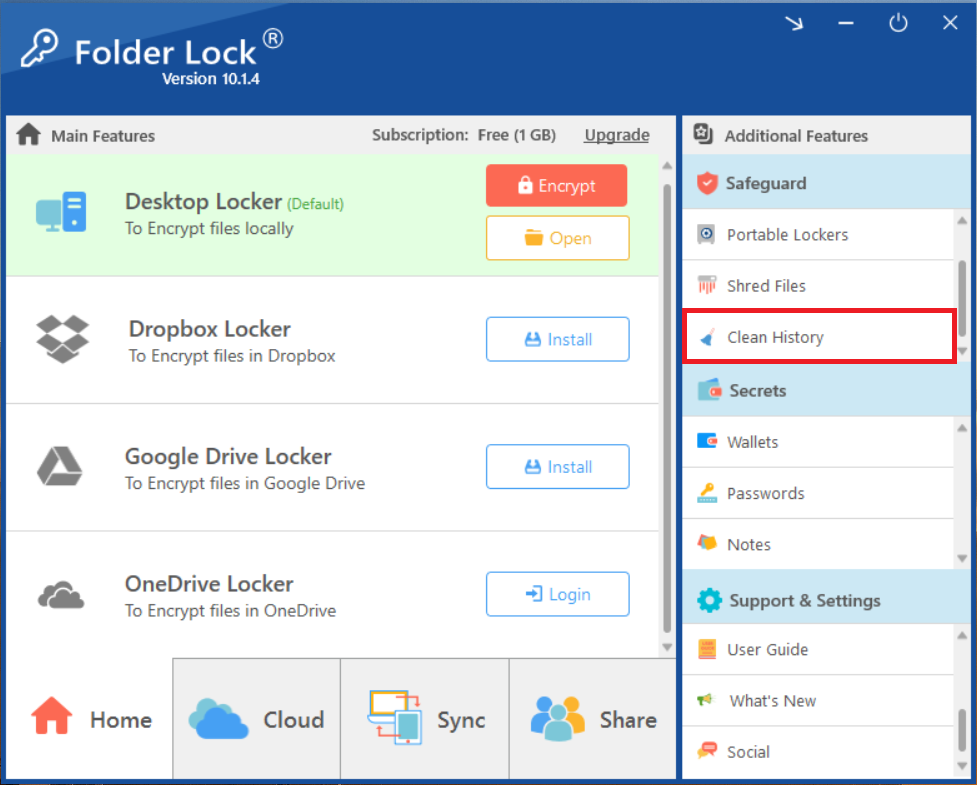
Step 3: Click on "Clean History"
Within the "Safeguard" tab, Scroll down and click on the "Clean History" option. This will open a new window or section dedicated to managing your system's historical data.
Step 4: Select History Items to Clean
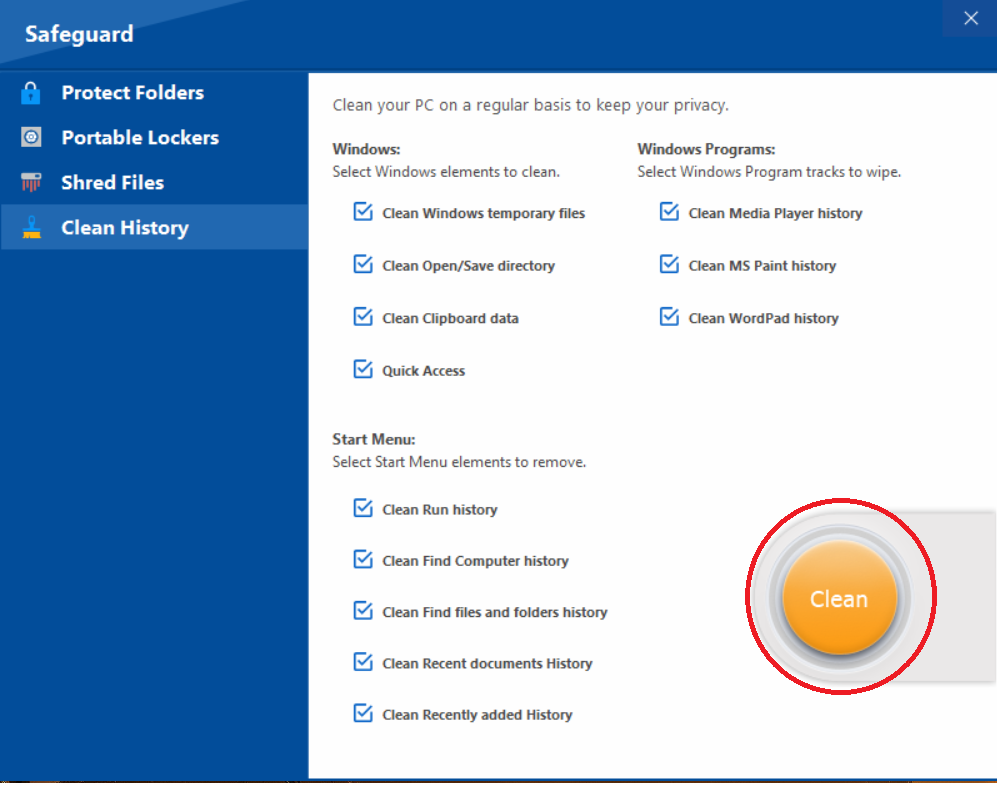
You will be presented with a list of various history items (e.g., Windows, Windows Programs, Start Menu etc.). Select the specific categories or items you wish to clean by checking the corresponding boxes.
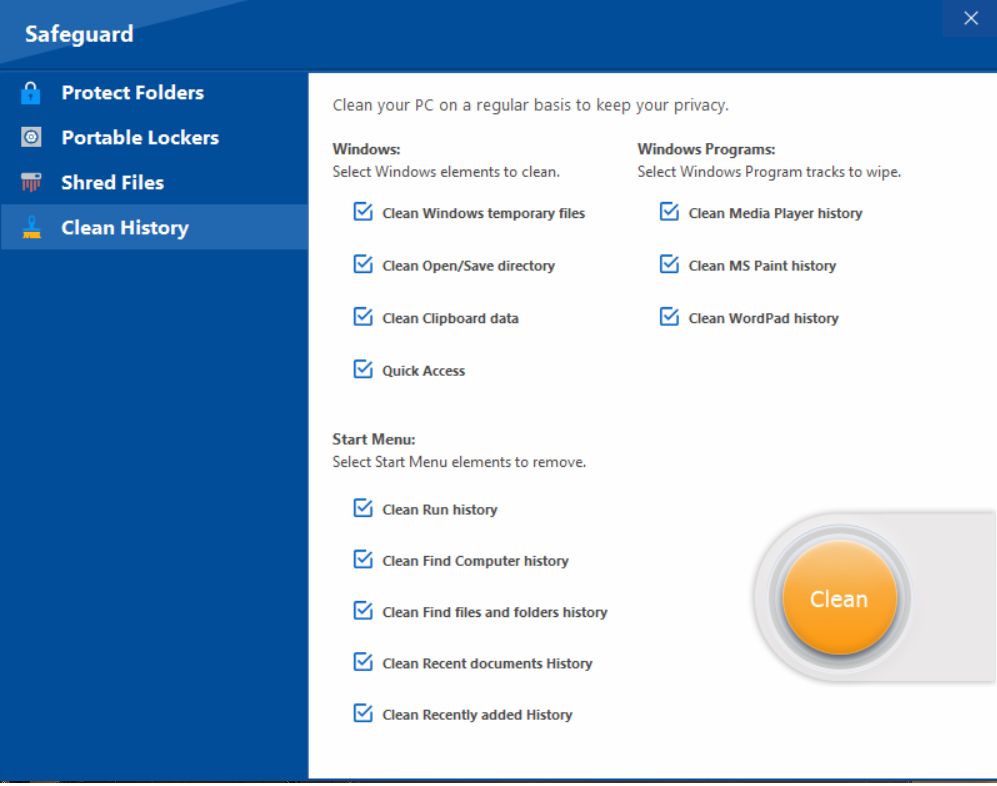
Step 5: Click "Clean" to Start the Process
After making your selections, click the "Clean" button to initiate the history cleaning process.
Step 6: Wait for Cleaning to Complete
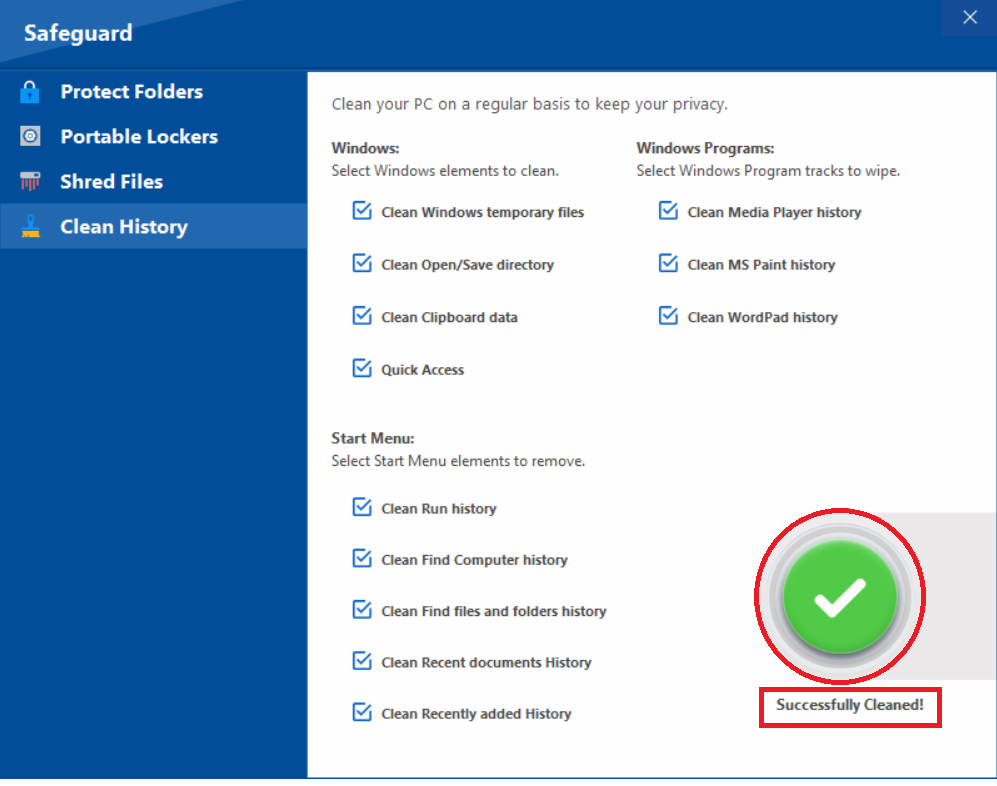
Folder Lock will now proceed to clear the selected history items. Please wait for this cleaning process to complete. A confirmation message or progress indicator will typically appear.
By diligently following the steps above, you'll significantly enhance your digital privacy, ensuring your Windows history is clean and your computer usage remains confidently confidential.
